Your Pool Is Finished. Here's the Final Walkthrough Checklist to Make Sure It Was Done Right
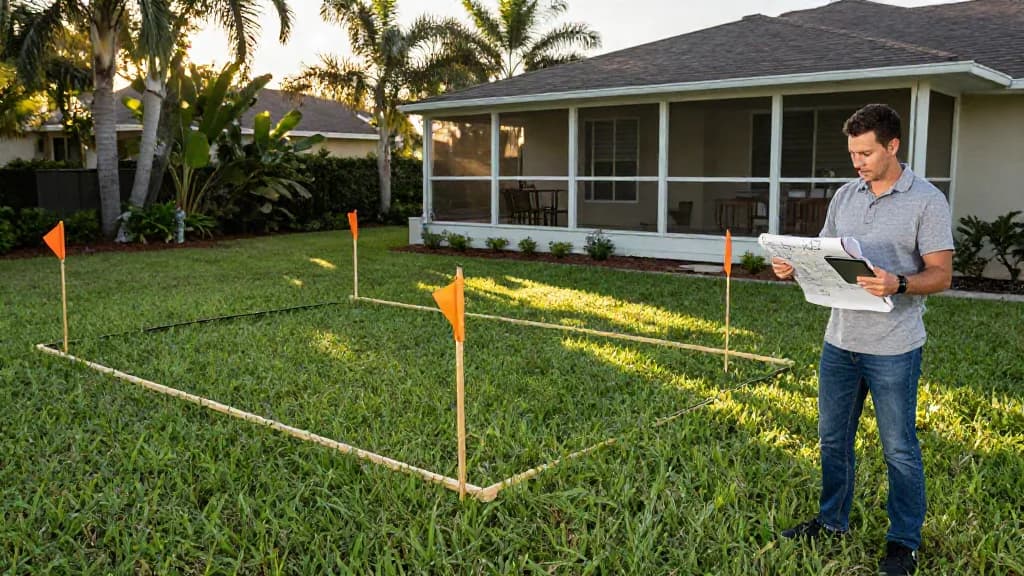
The last day of a pool project feels like a finish line. It's really a checkpoint — and the hour you spend walking it carefully is the best protection you have.
After weeks of planning, permits and crews, it's tempting to sign whatever is handed to you and think about the first swim. Slow down for one afternoon.
The final walkthrough is when problems are cheapest to fix. The crew still knows the job and the final payment hasn't left your account yet. After that, every small issue becomes a phone call and a conversation about who is responsible.
This checklist works for both a brand-new pool and a complete resurfacing. Some items apply only to new construction, and we've marked them.
Quick answer: A good final walkthrough checks six things: the interior surface, the tile and coping, steps and benches, the equipment, the safety features and the paperwork. Walk it in daylight, with the contractor present, before the final payment. Write down anything you see, photograph it, and get the fixes and their timing in writing.
Before You Start: Set Up the Walkthrough Properly
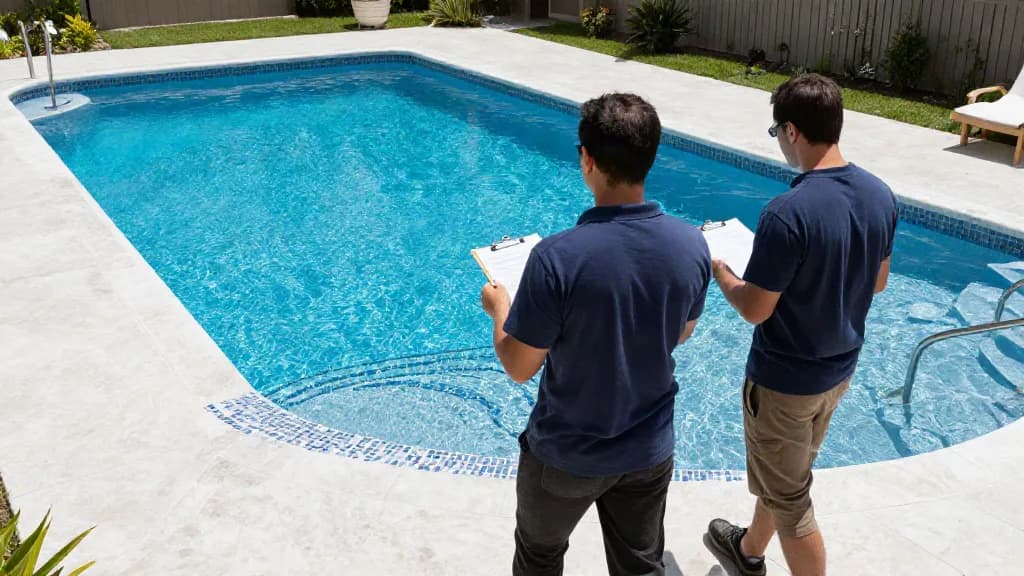
Schedule the walkthrough in daylight, ideally mid-morning or early afternoon when the sun shows the surface clearly. Ask the project lead to be there, not just a crew member who worked one phase.
Bring your contract and written proposal (to compare what was promised with what was delivered), a phone for photos and a notepad for your punch list.
If the pool is already filled, that's normal for a resurfacing: the water protects the new finish, and it actually makes uneven color easier to spot.
1. The Interior Surface
This is what you paid for most, so give it the most time.
Color and appearance
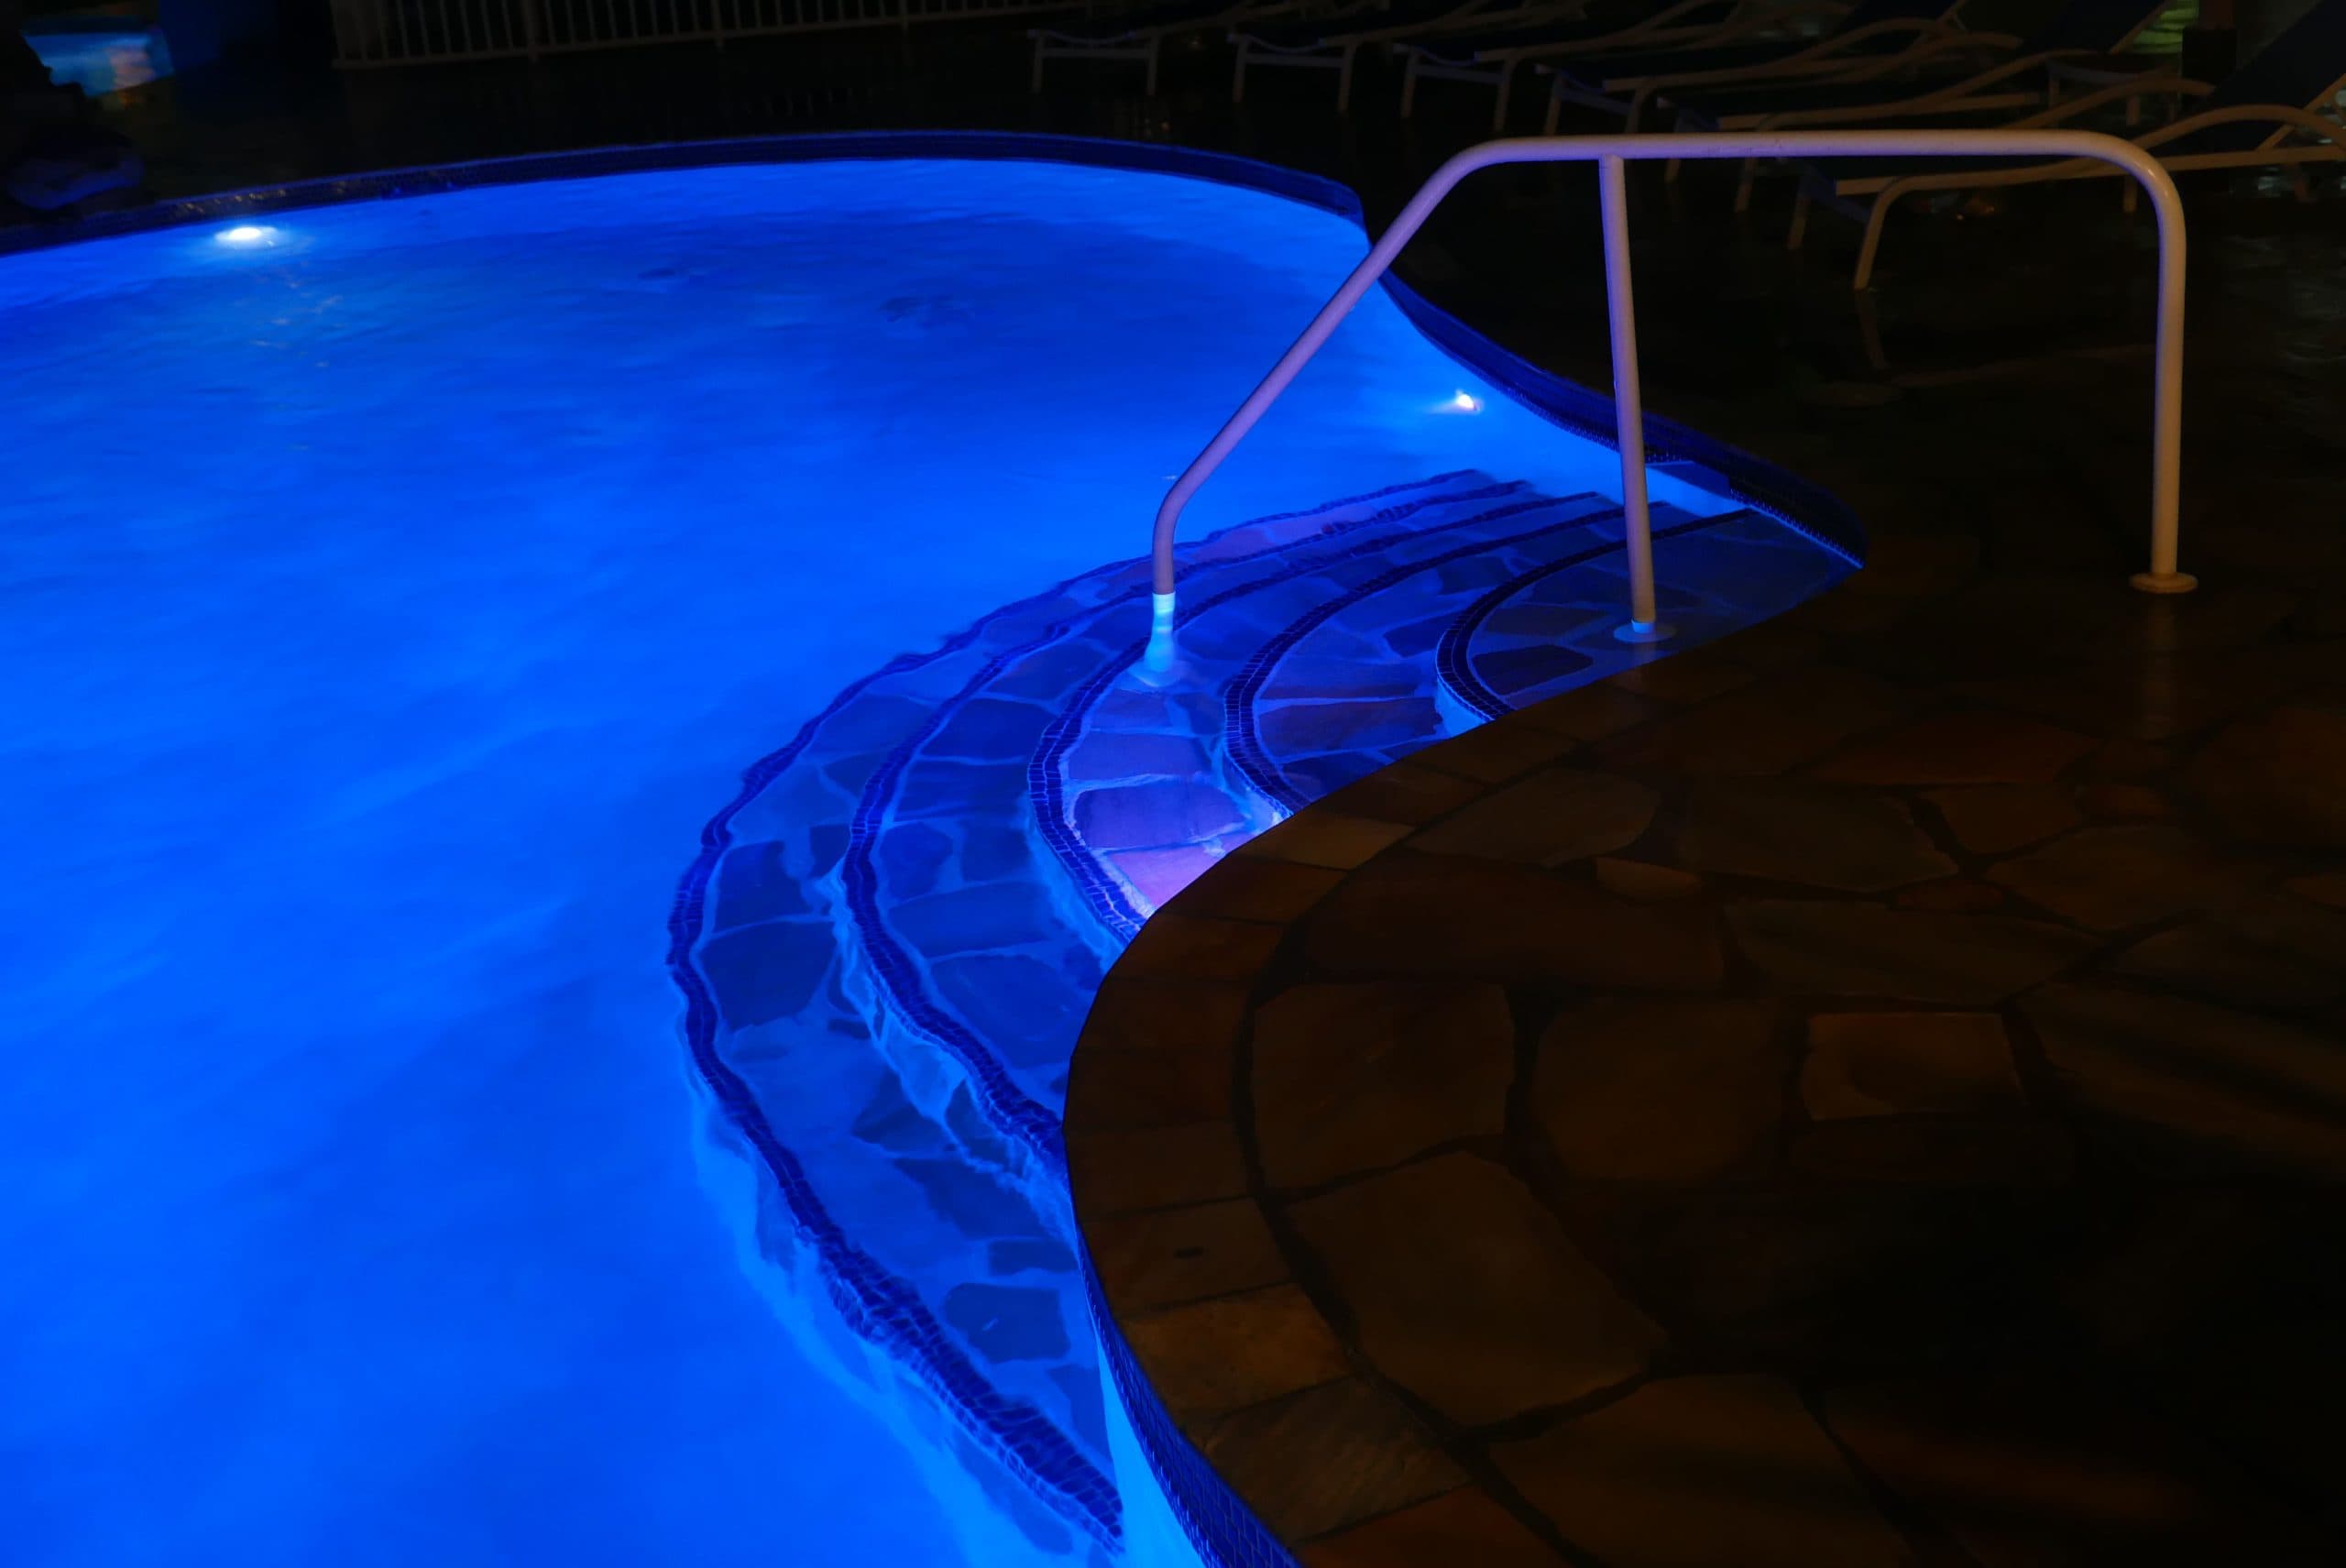
Walk slowly around the pool and look at the floor and walls from several angles. Some natural variation is normal, especially in pebble finishes, and new finishes keep evolving in color during the first weeks of curing. What you're looking for are obvious blotches, streaks or patches that look clearly different from the rest.
Texture
If the pool is still empty or you can reach the surface, feel it with your hand on steps and benches. Pebble finishes have a textured feel by design, but there should be no sharp edges, loose stones or rough spots that could scrape skin.
Hollow sounds and cracks
On an empty pool, a contractor can tap the surface to listen for hollow-sounding areas, which can indicate the new finish isn't bonded well (often called delamination). Ask whether that was checked. Look along the walls, floor and around fittings for cracks. Hairline marks should be pointed out and discussed now, not discovered later.
2. Tile and Coping
The waterline tile and the coping (the cap around the pool edge) are what everyone sees first.
- Straight lines: Sight down the tile line from each corner. It should look level and even, without waves or dips.
- Grout: Joints should be full and consistent, with no gaps, holes or smeared haze left on the tile face.
- No loose pieces: Press gently on coping stones and tile near steps and corners. Nothing should move or sound loose.
- Clean edges: The transition between tile, finish and coping should look intentional, without chips or ragged edges.
3. Steps, Benches and Sun Shelves
These are the areas people touch every day. Check that steps are even and edges smooth, and that any sun shelf matches the planned depth and size.
4. Equipment
You don't need to be a technician, but you should see everything run before the job is closed.
- Pump and filter: Ask the contractor to start the system. Listen for unusual grinding, screeching or rattling, and look for drips at the pump, filter and valves.
- Pressure gauge: Ask what the normal filter pressure reading is for your system and write it down. That number becomes your baseline.
- Heater, lights and automation: Ask to see each one operate, and ask for a quick lesson on the controls.
- Electrical safety: Pool electrical work involves bonding, grounding and GFCI protection. Don't try to judge it yourself — ask whether the electrical inspection passed, and have the licensed electrician or inspector confirm everything is in order.
5. Water Level, Skimmers and Deck Drainage
Check that the water sits at the correct level on the skimmer opening (usually around the middle — ask your contractor what's right for your pool). Skimmer lids and baskets should be in place and working.
Then look at the deck. Water should drain away from the pool and away from the house, not puddle near the edge or flow back toward your doors. If you can, hose down a section and watch where it goes. If the project included new decking, this is the moment to raise any concern about slope or finish.
6. Safety Features (Required for New Pools in Florida)
Florida's Residential Swimming Pool Safety Act, s. 515.27, F.S. says a new residential pool must have at least one of several safety features to pass final inspection and receive a certificate of completion. The options listed include:
- A barrier that isolates the pool from the home and meets the statute's barrier requirements
- An approved safety pool cover
- Exit alarms on every door and window with direct access from the home to the pool
- Self-closing, self-latching devices on those doors, with the release at least 54 inches above the floor
- A pool alarm certified to ASTM F2208 that sounds when someone enters the water
During the walkthrough, confirm which option was used on your project and test it: open the gate and watch it close and latch, trigger the door alarm, and so on. Local codes can add requirements, so confirm details with your building department.
7. Final Inspection and Permit Closeout (New Construction)
A new pool isn't truly finished until the permit is closed. As one example, the City of Orlando's residential pool permitting checklist lists electrical, engineering, zoning and building final inspections, and notes that the building final requires the pool deck, pump and child barrier to be installed. Unincorporated Orange County, Osceola County and other cities have their own processes — rules change, so confirm with your local building department.
Ask your contractor for proof that the final inspections passed, and keep a copy with your records.
8. The Paperwork to Collect
| Document | Why it matters |
|---|---|
| Finish warranty | If your finish is PebbleTec, ask for the manufacturer warranty information (PebbleTec offers a 25-year manufacturer warranty) along with the contractor's workmanship terms |
| Equipment manuals and warranties | Pump, filter, heater, lights and automation each have their own coverage and care instructions |
| Final inspection / permit closeout | Proof the work was inspected and approved |
| Final payment affidavit and lien releases | Protects you from claims by unpaid subcontractors or suppliers |
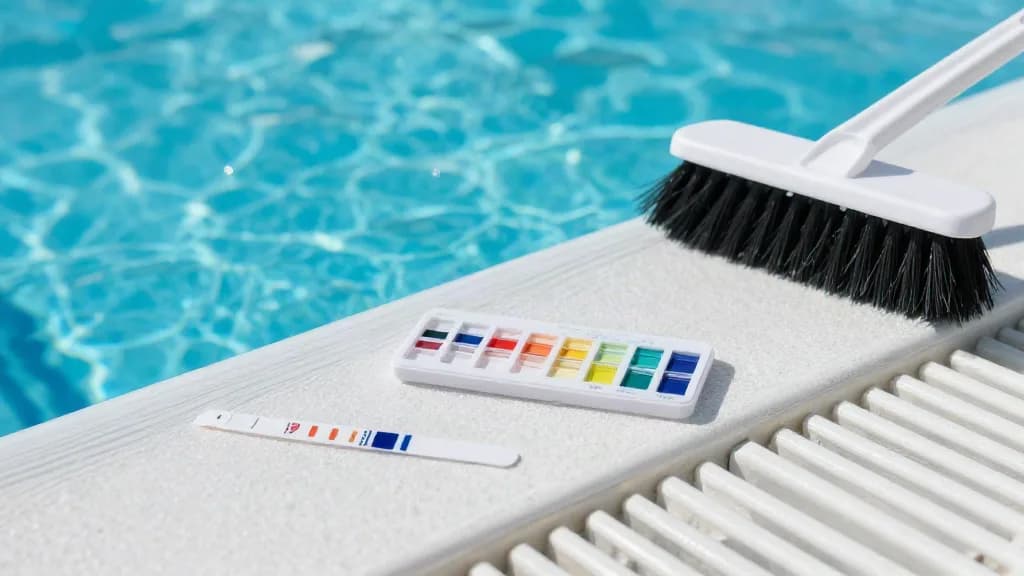
| Start-up instructions | Brushing and chemical schedule for the new surface |
A word about liens
Under Florida's construction lien law, the contractor must give the owner a final payment affidavit when final payment becomes due, stating that lienors who served a notice to owner have been paid — or listing who hasn't been paid and how much. The statute also says the owner must withhold final payment until that affidavit is furnished (s. 713.06, F.S.). If you received any notices to owner from suppliers or subcontractors during the job, ask for written releases of lien from them too.
This isn't legal advice. Lien rules are detailed — if anything looks unclear, talk to a Florida attorney before making the final payment.
9. Photos: Your Baseline
Before you close the job, take a full set of dated photos and a short walk-around video: walls, floor, steps, tile line, coping, equipment pad and gauges, and the deck. If a question comes up months later, you'll have a clear record of delivery day.
How We Handle the Walkthrough at D&J
At D&J we walk every completed project with the homeowner, explain the start-up process and the equipment, and leave the warranty information in their hands. If you're still in the planning stage, our complete resurfacing and new pool construction pages explain how we work from start to finish.
For what comes after the walkthrough, see our guide on what to organize before, during and after resurfacing.
Frequently Asked Questions
Should I make the final payment during the walkthrough?
Only after the punch list is agreed in writing and you have the paperwork you need, including the final payment affidavit required under Florida lien law. Many homeowners agree with the contractor on how small remaining items will be handled before releasing the final payment.
Is some color variation normal on a new finish?
Yes. New finishes keep changing slightly during curing, and pebble finishes have natural variation by design. Sharp, obvious blotches or streaks are worth pointing out during the walkthrough.
Does a resurfacing need a final inspection like a new pool?
It depends on the scope of work and your local jurisdiction. New construction goes through permit inspections. Ask your contractor what applies to your project and confirm with your local building department.
What if I find a problem after the walkthrough?
Photograph it, note the date, and contact the contractor in writing as soon as possible. Your warranty paperwork will explain the process.
Planning a resurfacing or a new pool in Central Florida? Request your free estimate or call (689) 358-9790 — se habla español.
Written and reviewed by
D&J The Pool Resurfacers
A Florida-licensed pool contractor and certified PebbleTec applicator that resurfaces, remodels and builds pools across Central Florida, working with pebble, quartz and polished finishes.
- Florida Certified Pool/Spa Contractor
- CPC1459797 · Verify the license on MyFloridaLicense.com
- PebbleTec
- Certified PebbleTec applicators
- Last updated
Why trust this article: it’s written by the licensed crew that does this work in Central Florida, and it only states what we do on our own jobs — pebble, quartz and polished finishes. More about D&J