Can I Use My Pool During Resurfacing? Everything You Need to Organize Before, During, and After
You have decided to resurface your pool. The contractor is scheduled. Now comes the part nobody fully prepares you for — what do you actually need to do on your end? Most homeowners focus on the product and the timeline and never think about the logistics until the crew shows up and asks if they can access the backyard. This guide is written specifically for the homeowner who has already decided to move forward and wants to know exactly what to expect and prepare. From the days before the crew arrives to the first swim after startup, here is everything you need to organize for a smooth pool resurfacing project.
Can You Use Your Pool During the Resurfacing Process?
The short answer is no. Once the pool is drained — which happens on day one — the pool is completely inaccessible until the new surface is applied, the pool is refilled, and the chemical startup process is completed. The total time from the first day of work to swim-ready is about a month and a half.
Here is the breakdown so you can plan accurately:
- Days 1 through 4: Draining, surface removal, repairs, bonding agent, and new finish application. The pool is an active work site. No access.
- Days 4 through 6: Pool refilling. Takes 12 to 48 hours depending on pool size.
- The weeks that follow: Chemical startup. The water chemistry is being carefully balanced and the new surface is curing. No swimming.
- About a month and a half from day one: Once the startup process is complete and chemistry is confirmed, the pool is swim-ready.
Planning for about a month and a half without pool access is the realistic expectation for most homeowners in Orlando.
The Homeowner Checklist: Before the Crew Arrives
Most delays and complications in pool resurfacing projects come not from the contractor side but from access and preparation issues on the homeowner side. Going through this checklist before day one keeps your project on schedule.
Clear the Pool Area
Remove all furniture, umbrellas, planters, decorative items, and any objects within three to four feet of the pool perimeter. The crew needs unobstructed access to the entire pool edge. Equipment will be brought in and material will be staged nearby — a clear work area speeds up every phase of the project.
Confirm Access to the Backyard
Make sure the crew can enter the backyard without issues on day one. If you have a gate with a lock, arrange a key exchange or code ahead of time. If your backyard is accessed through the house, communicate that clearly with your contractor before the project starts.
Inform Your Neighbors
Pool resurfacing involves noise — primarily from the equipment used to chip out the old surface. This phase lasts one to two days and can be heard beyond your property. A quick heads-up to immediate neighbors prevents friction and keeps relationships intact.
Disconnect or Protect Landscaping Near the Pool
Sprinkler heads, low-hanging plants, and landscaping that extends to the pool edge can interfere with the work or be damaged during prep. Identify any irrigation zones that run near the pool and turn them off for the duration of the project. Protect any plants you are concerned about with burlap or plastic sheeting.
Notify Your Pool Service Company
If you have a regular pool service, let them know that a resurfacing is scheduled. They should not be servicing the pool during the project and should be informed of the startup timeline so they can plan their return accordingly.
During the Project: What to Expect Day by Day
The Draining and Chip-Out Phase (Days 1–2)
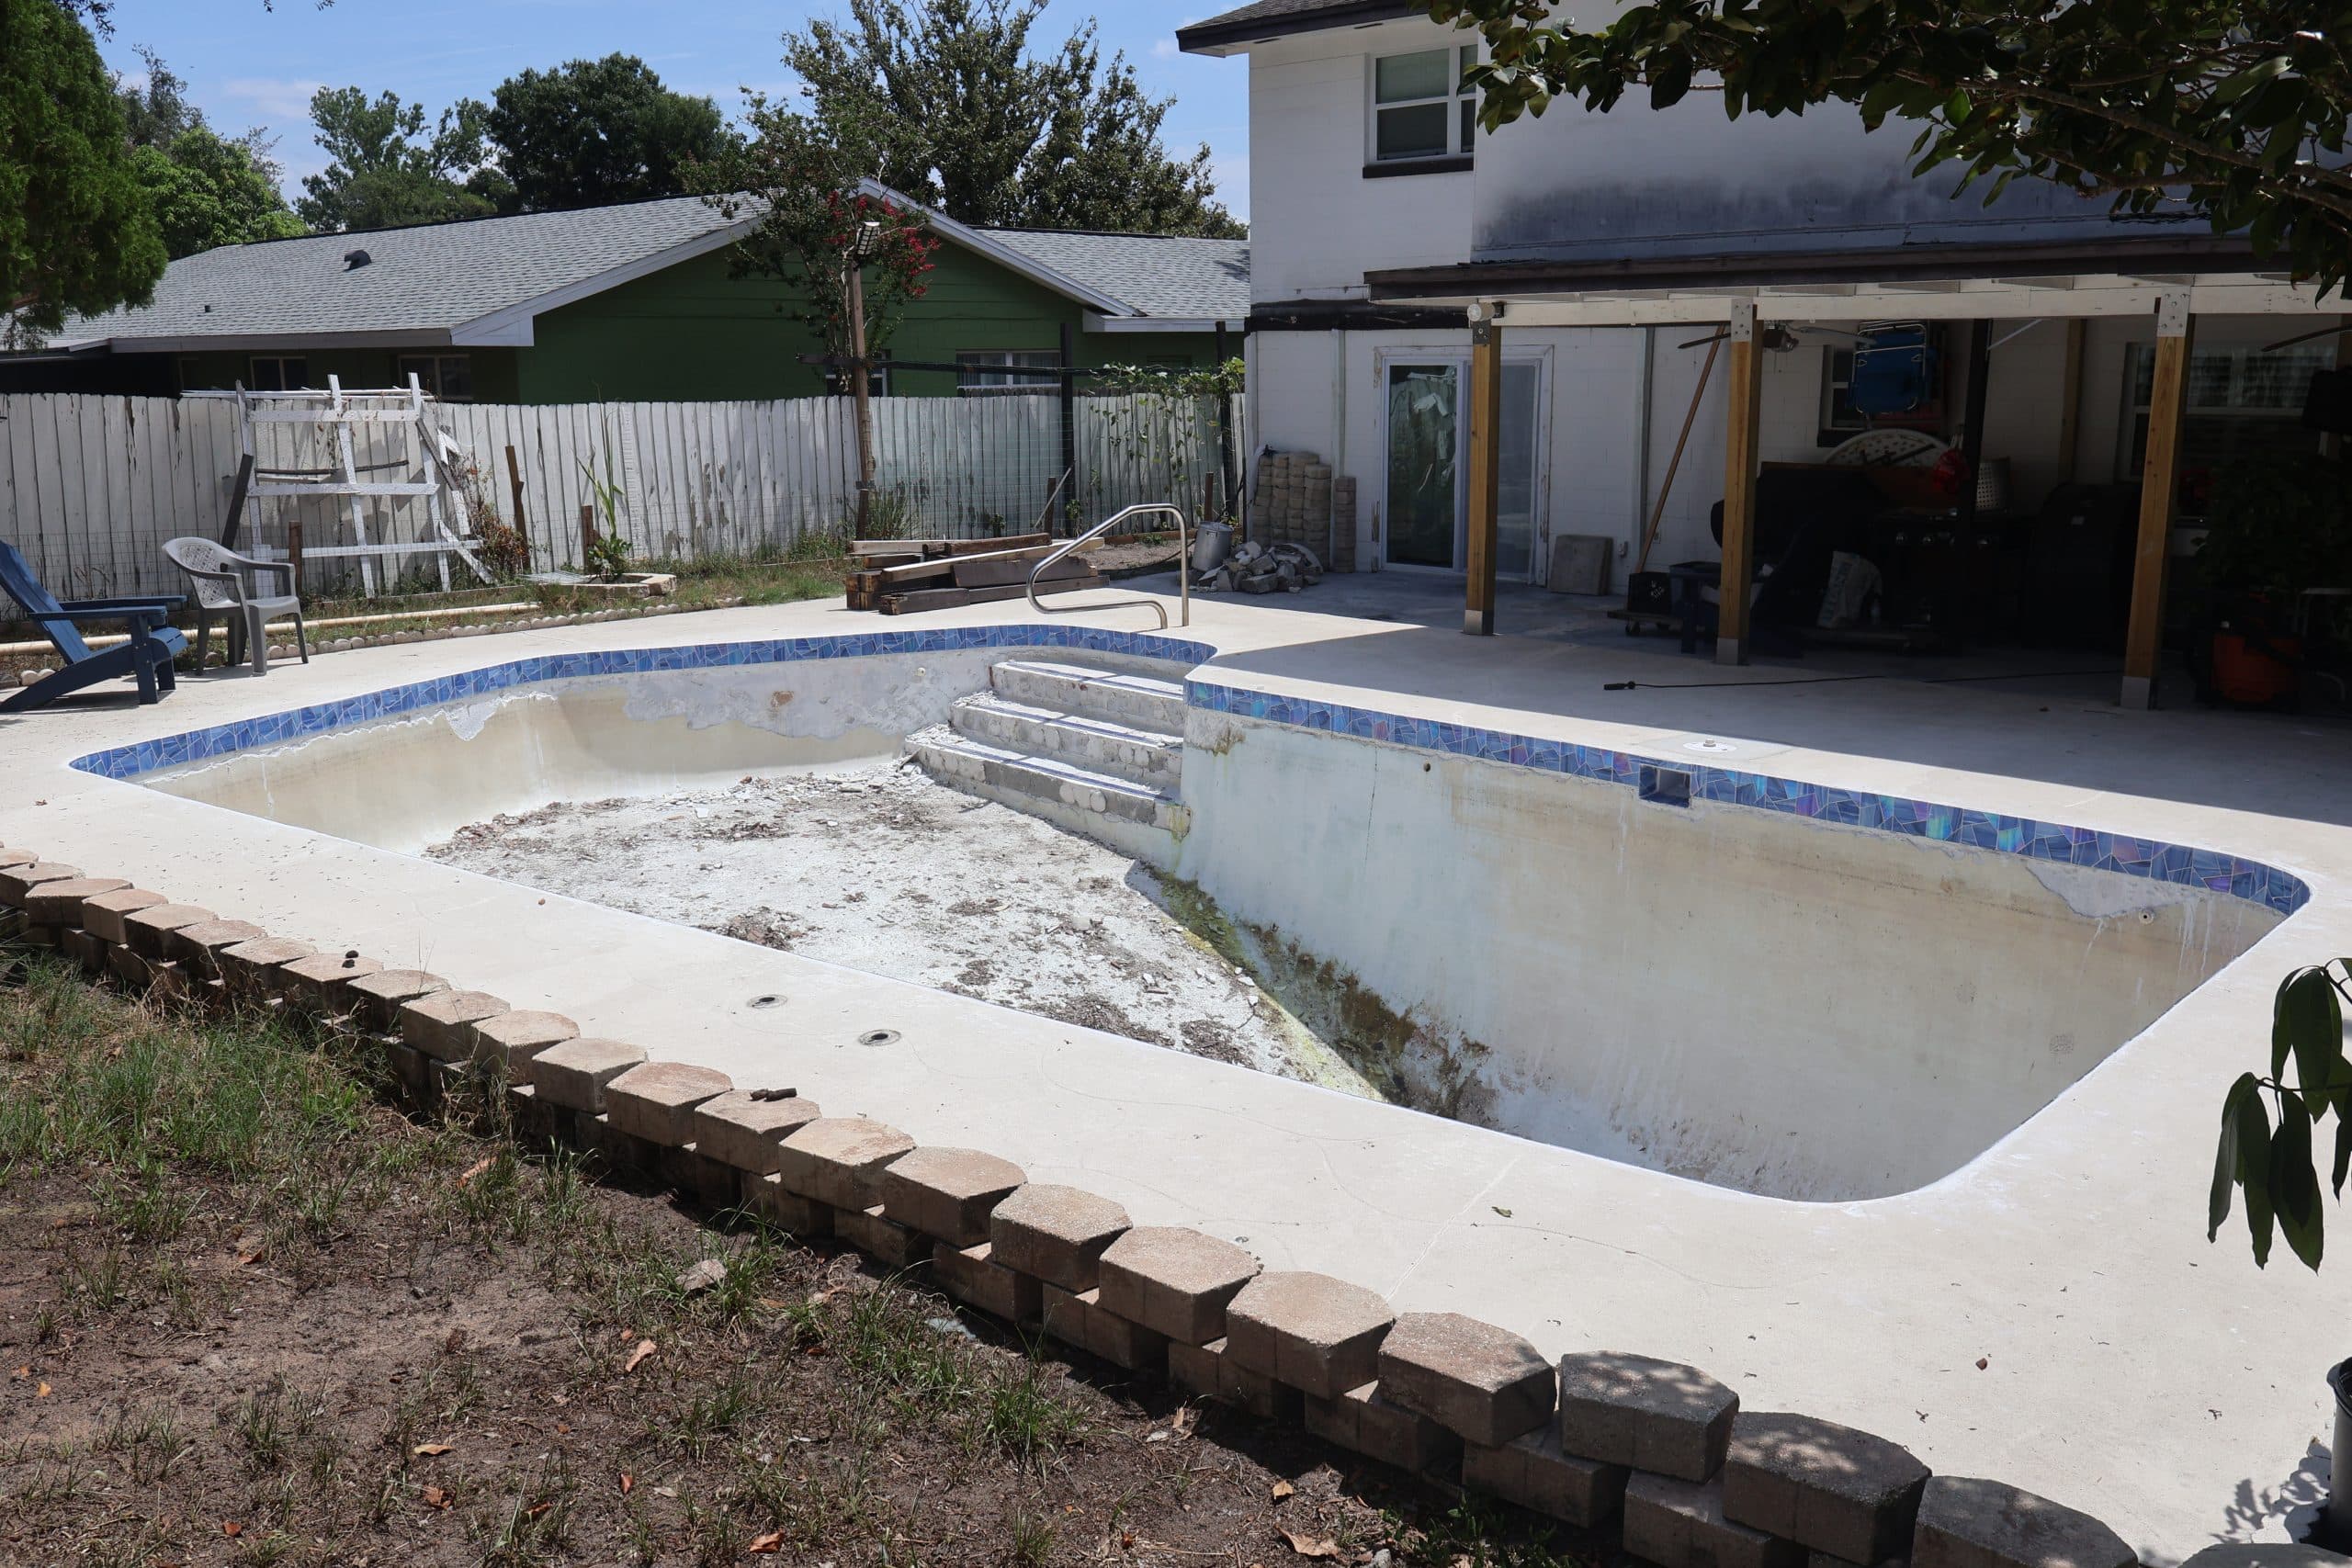
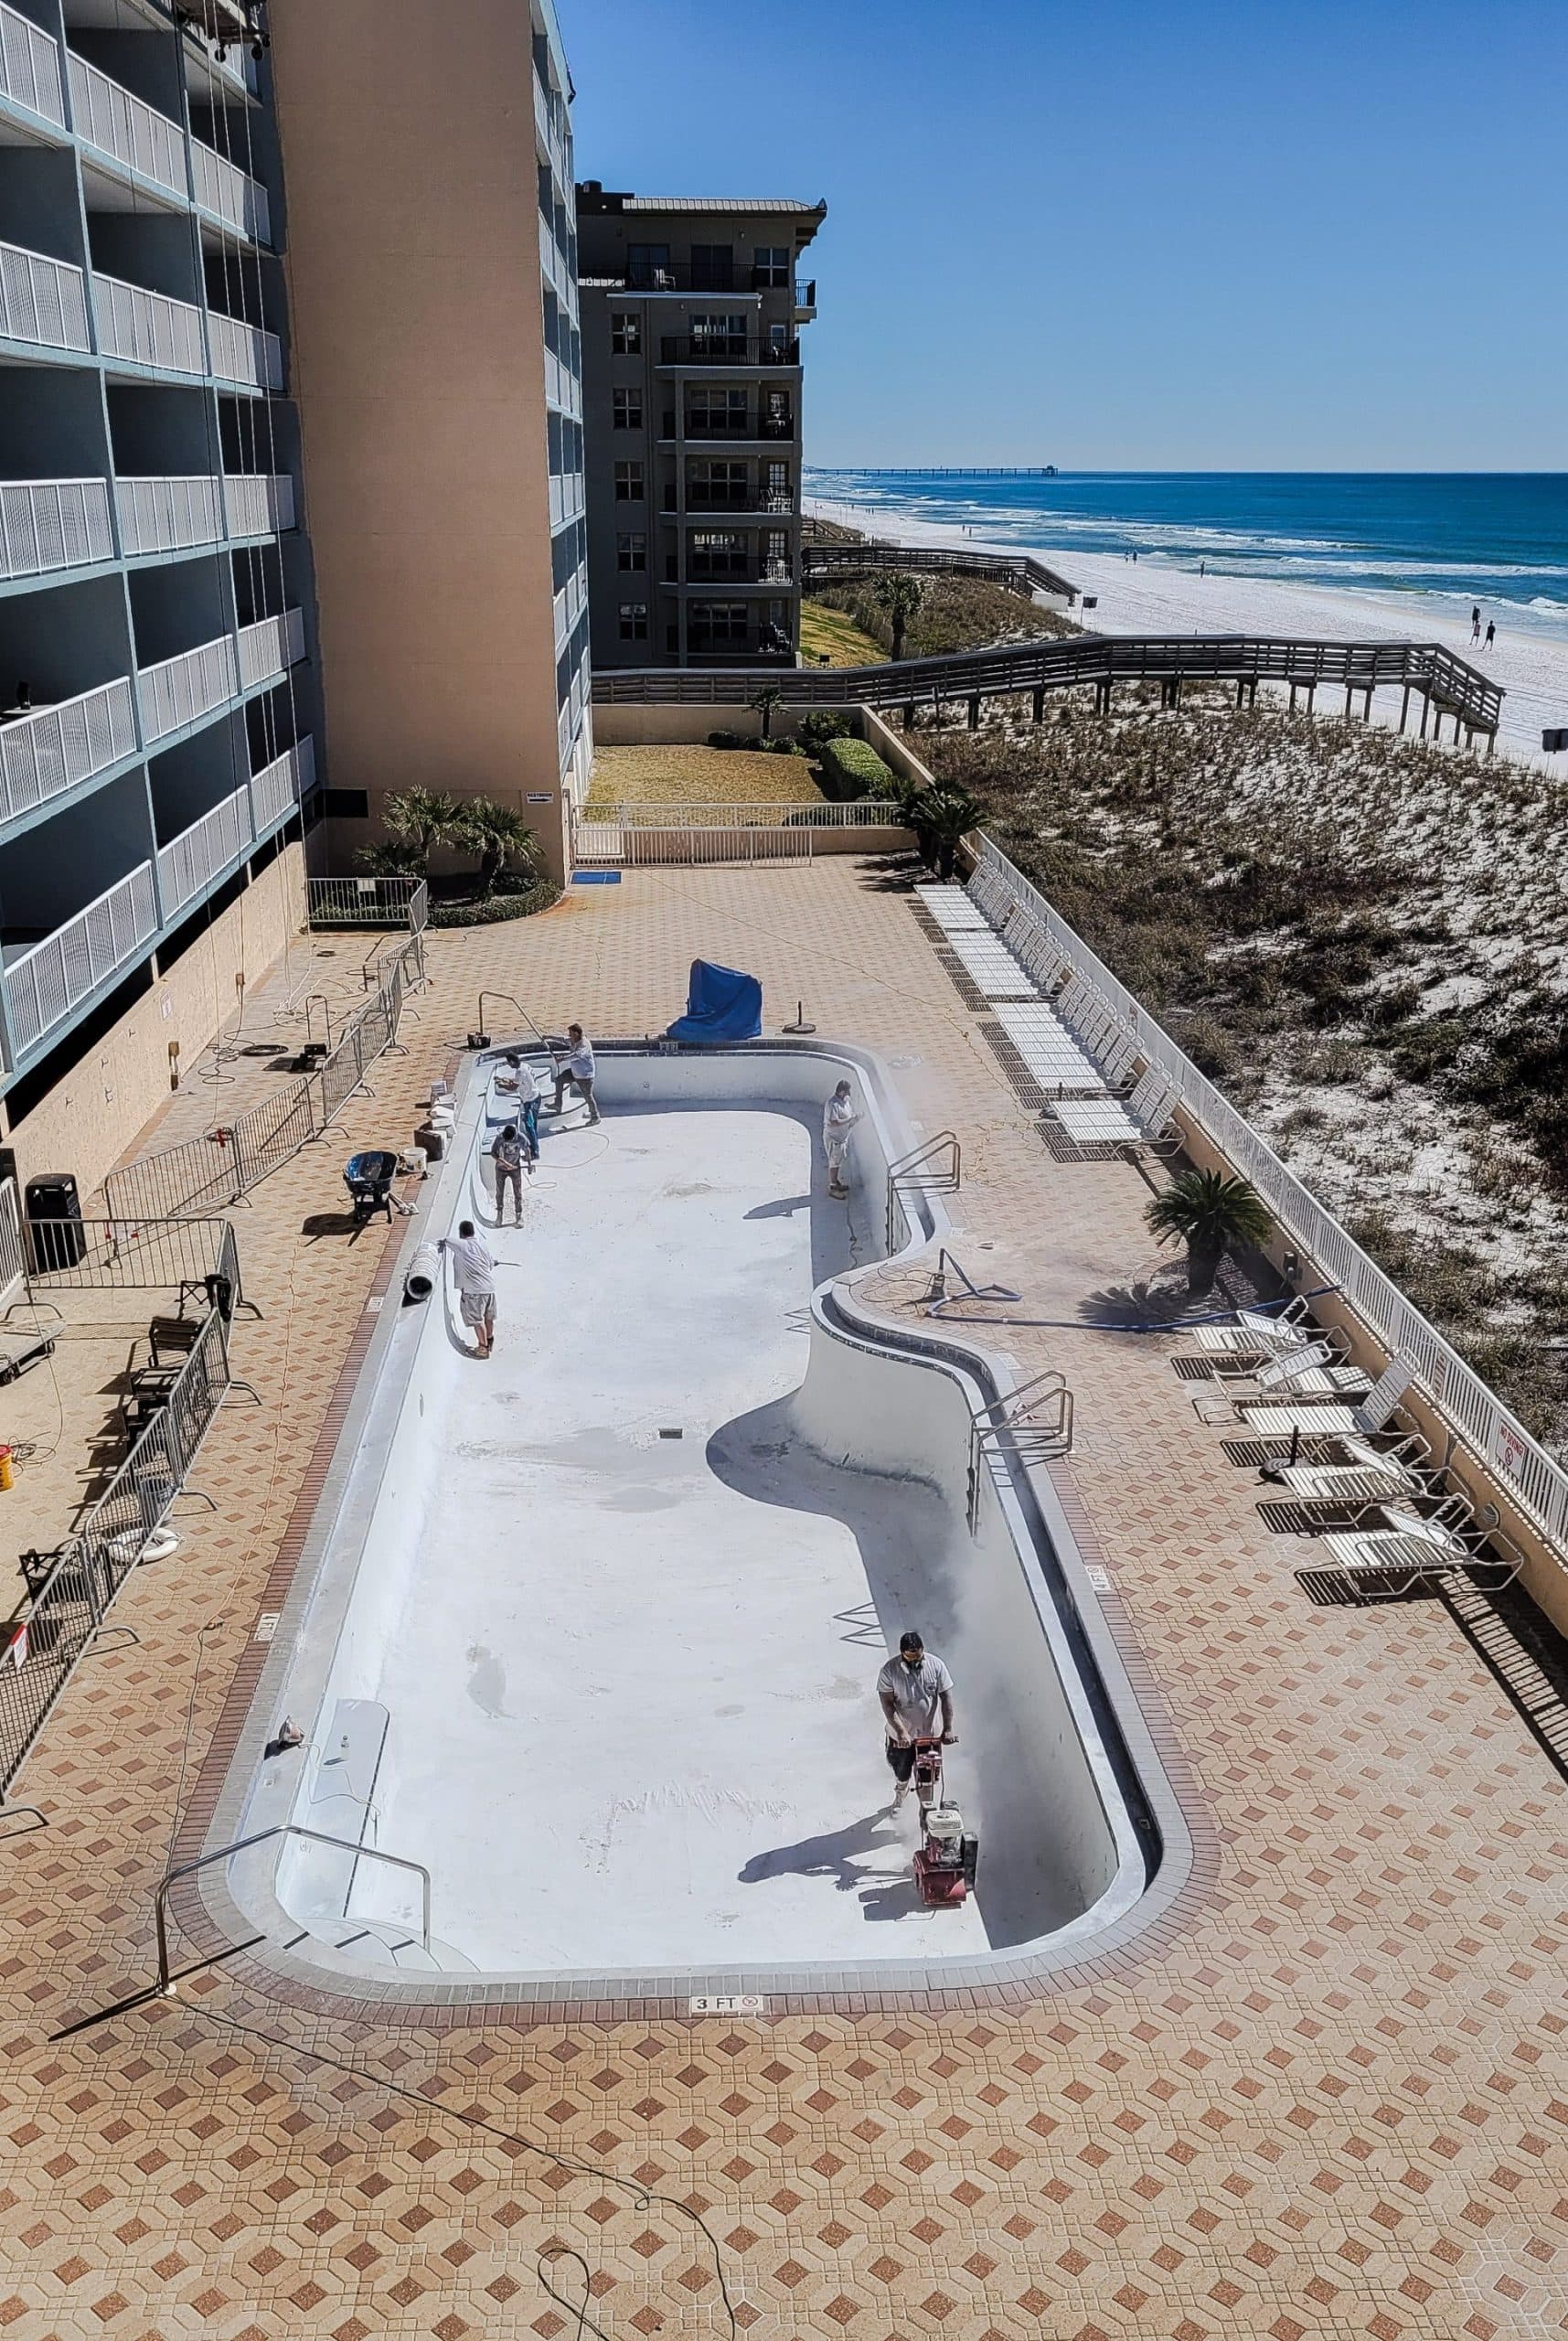
The first thing that happens is draining. For a standard residential pool, this takes most of one day. Once the pool is empty, the crew evaluates the existing surface. If the old plaster has hollow areas — spots where it has separated from the shell — it is removed entirely. This is called a chip-out or demolition and it is not optional when the surface is compromised. Expect noise and debris during this phase. The crew manages cleanup as part of the process.
The Application Phase (Days 2–4)
Once the surface is prepared, the bonding agent is applied and the new finish goes on. This phase is precise and requires consistent conditions. If you are home during this phase, you will see the crew working with hoses and trowels, smoothing the finish across the entire surface. Florida’s summer heat can accelerate the drying of the bonding agent, which sometimes compresses the timeline.
Refilling and Startup (Days 4–14)
As soon as the finish is applied, the pool is refilled immediately. New plaster must cure underwater — it cannot dry in open air. Once full, the chemical startup begins. During this phase you may notice the water looking cloudy or milky. This is normal and temporary. It is plaster dust releasing from the new surface and it clears as the startup process progresses.
Children and Pets During the Project
With a crew working in your backyard and an empty or partially filled pool on the property, keeping children and pets away from the pool area during the project is important.
- Keep children out of the backyard entirely during the chip-out phase — debris and equipment create real hazards
- Secure pets indoors or in a separate area away from the work zone for the duration of the active work days
- Once the pool is refilling and the crew is no longer on site, the immediate danger is reduced — but the pool is still off-limits until startup is complete
Communicating this to everyone in the household before the project starts prevents problems during the project.
Post-Resurfacing Care: The First Four Weeks
The startup phase is not just waiting time. What happens in the first four weeks after your pool is filled directly affects how the surface performs over the next decade. Here is what the homeowner needs to do or be aware of during this period.
Brushing
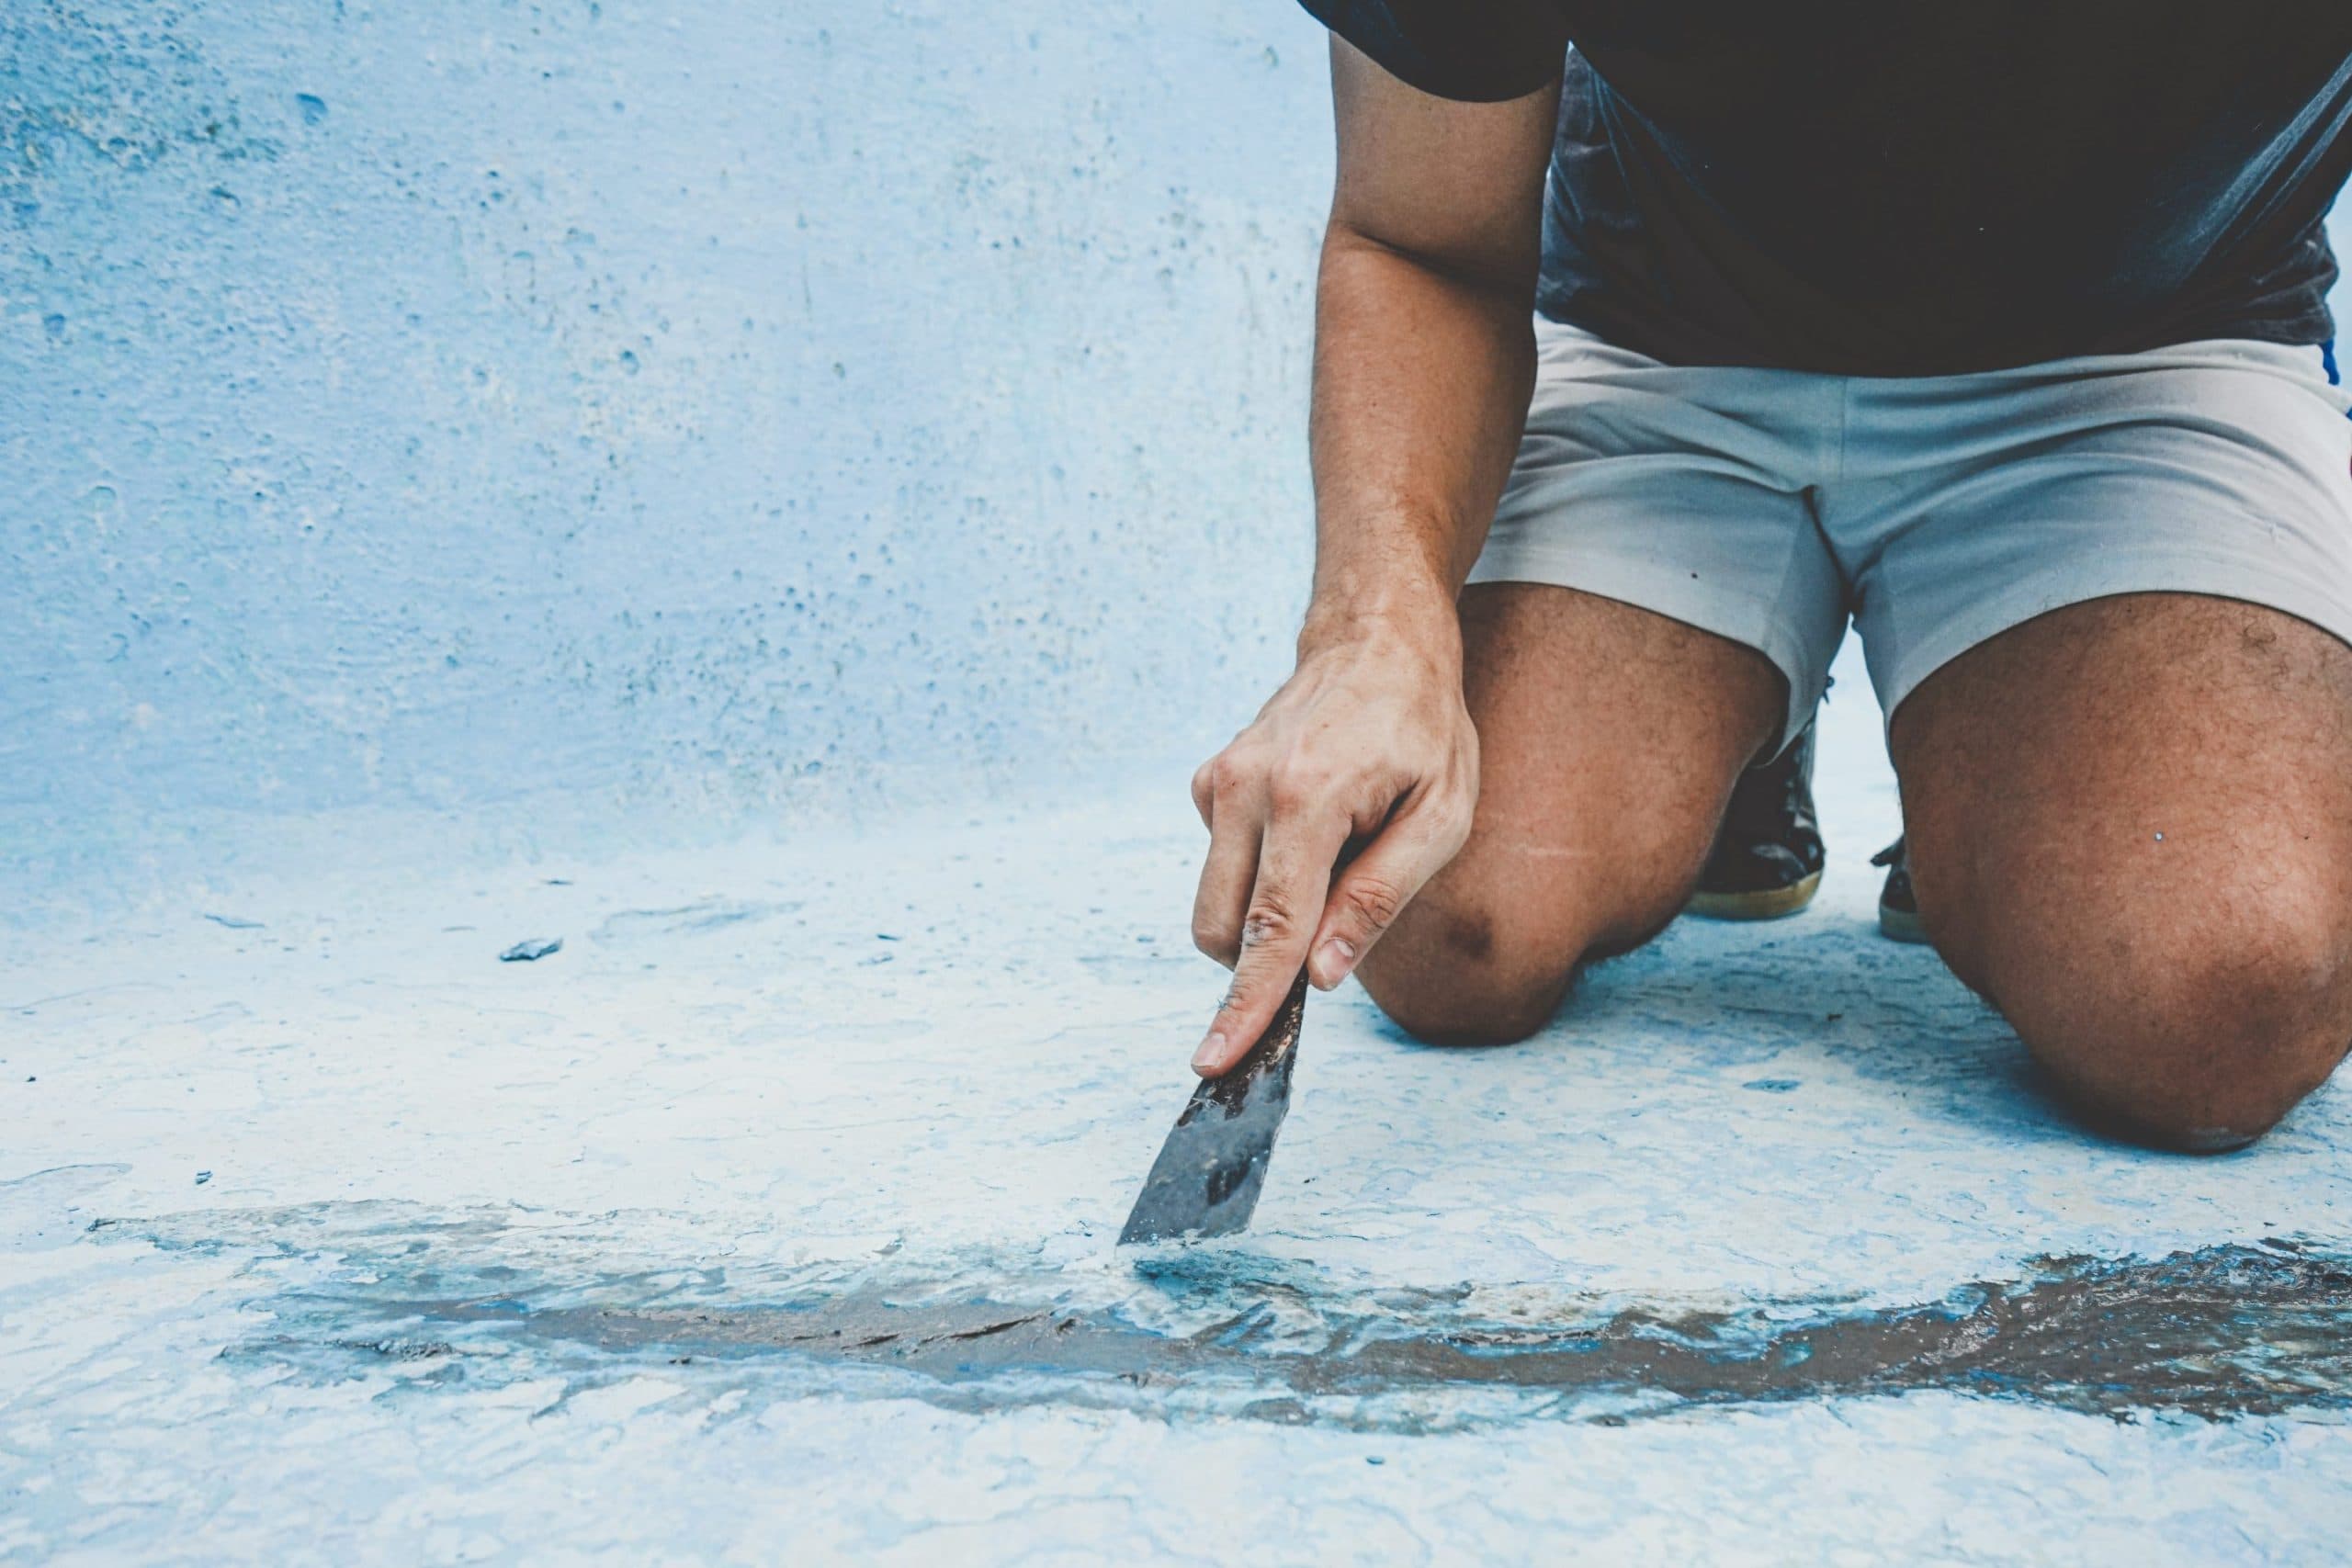
During the first week, brush the pool walls and floor once or twice daily using a soft pool brush. This removes plaster dust that releases naturally from the new surface and helps the finish cure evenly. It takes ten to fifteen minutes and makes a real difference in the final appearance.
Water Chemistry Monitoring
Your contractor manages the startup chemistry, but if you are handling it yourself, test the water daily for the first week and every other day in weeks two through four. New surfaces are sensitive — keeping the chemistry in range during curing prevents staining and surface irregularities that are difficult to fix later.
No Swimming Until Startup Is Complete
This point is critical and worth repeating. Do not swim in the pool until your contractor confirms that the startup process is complete and water chemistry is balanced. Swimming too early can damage the new surface, leave footprints in uncured plaster, and cause skin irritation from chemical imbalance.
Avoid Pool Toys and Automatic Cleaners for the First Month
Do not introduce automatic pool cleaners, rubber toys, or metal accessories during the first four weeks. The new surface is still curing and can be scratched or stained by objects that would have no effect on a mature surface.
How to Plan Around the Month-and-a-Half Window
Knowing the timeline in advance lets you schedule the project strategically. Here are the situations most Orlando homeowners plan around:
- If you have a summer event — a birthday party, a family gathering, a holiday weekend — schedule the project to start at least a month and a half before that date. This gives you buffer for any minor delays and ensures the pool is fully ready.
- If you are heading out of town, a pool resurfacing can actually run during your absence — the crew does not need you present every day, and you return to a finished pool.
- The best scheduling window in Central Florida is March through early May. Contractor availability is better, weather is more stable, and your pool is ready well before peak summer use.
Ready to Schedule? We Will Walk You Through Every Step
The homeowners who have the smoothest resurfacing experiences are the ones who know what to expect before the project starts. Now you do.
D&J The Pool Resurfacers has been guiding Central Florida homeowners through pool renovations since 2014. We communicate throughout the entire process — before, during, and after — because we know that clear information is what makes the difference between a stressful project and a straightforward one. As certified PebbleTec applicators, every installation we deliver carries a 25-year manufacturer warranty.
Written and reviewed by
D&J The Pool Resurfacers
A Florida-licensed pool contractor and certified PebbleTec applicator that resurfaces, remodels and builds pools across Central Florida, working with pebble, quartz and polished finishes.
- Florida Certified Pool/Spa Contractor
- CPC1459797 · Verify the license on MyFloridaLicense.com
- PebbleTec
- Certified PebbleTec applicators
- Last updated
Why trust this article: it’s written by the licensed crew that does this work in Central Florida, and it only states what we do on our own jobs — pebble, quartz and polished finishes. More about D&J