The First 30 Days After a New Pool or Resurfacing: What's Normal and What's Not
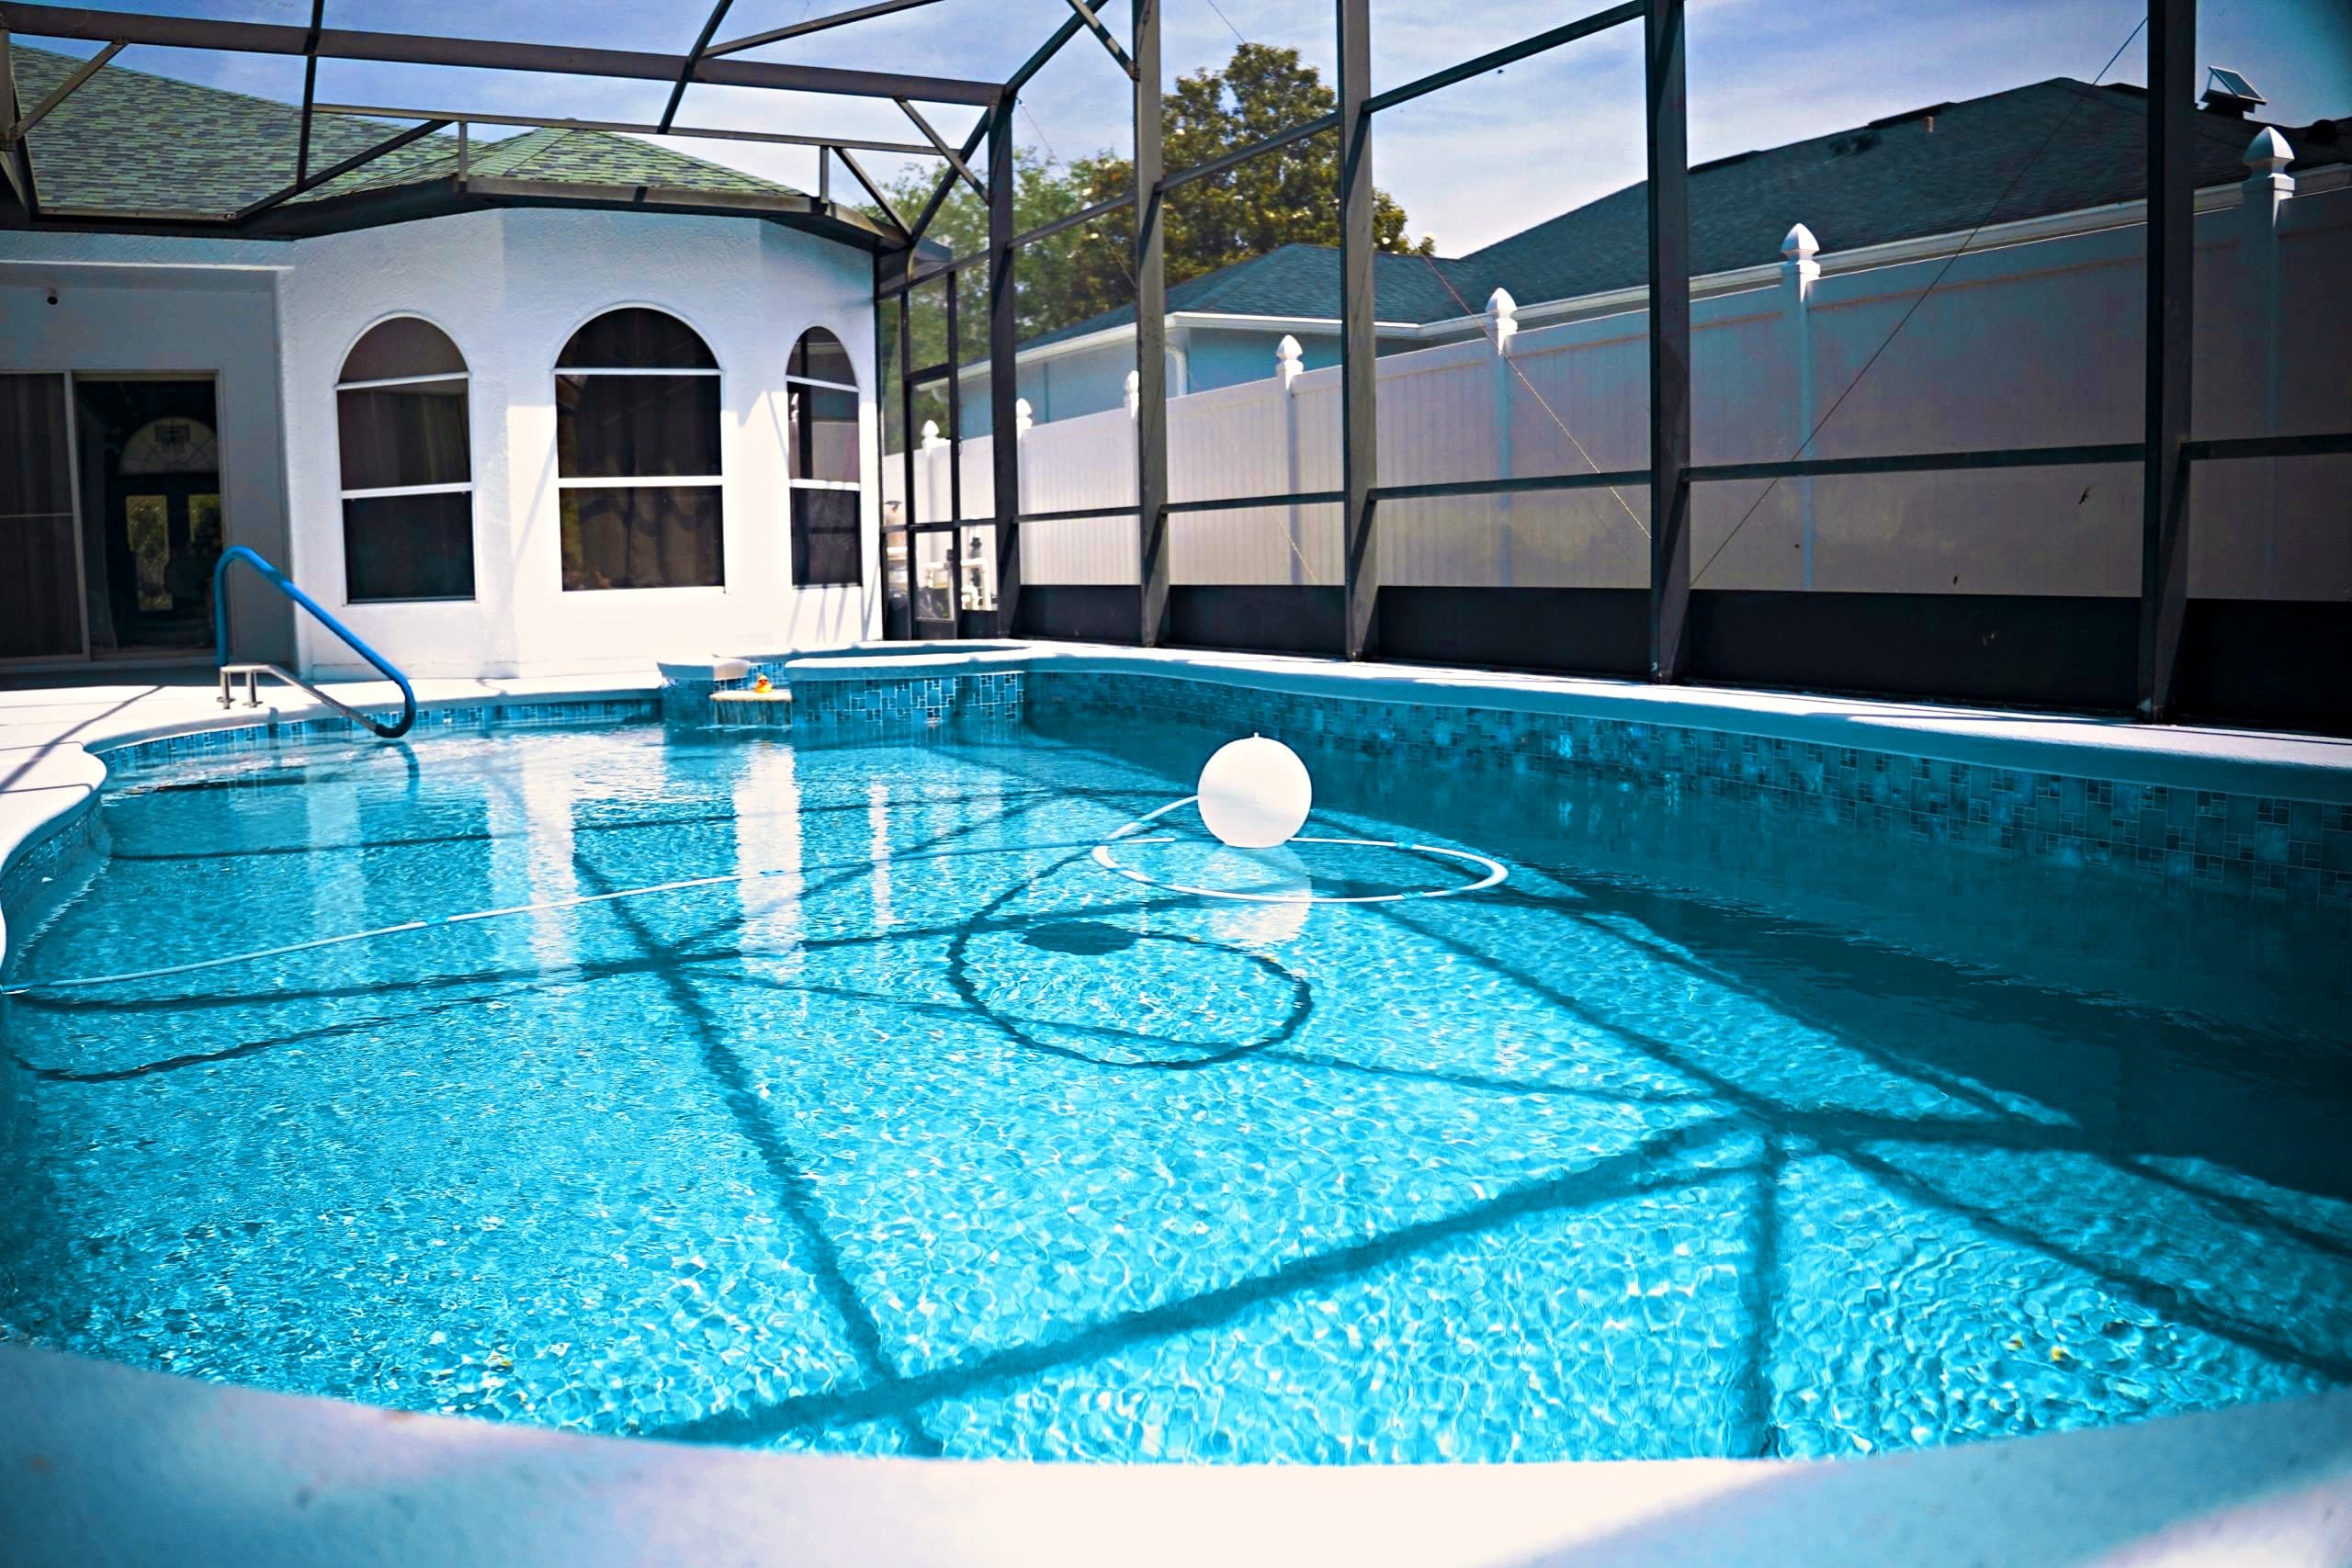
The crew is gone, the pool is full and it looks beautiful. Then you notice a fine dust on the floor, a shade that seems different from yesterday, and the water level looks a little lower. Is something wrong?
Most of the time, no.
A new interior finish — whether it's on a brand-new pool or a complete resurfacing — is still curing during its first weeks underwater. Some of what you see is the finish settling in. Some of it is your cue to pick up the phone.
This guide helps you tell the difference.
Quick answer: In the first month, some surface dust, gradual color changes and a few days of hazy water during start-up are common. Cracks, rough or flaking spots, stains that keep spreading, water that stays cloudy despite balanced chemistry, a water level that drops faster than evaporation explains, or new equipment noises are worth reporting to your contractor right away — with photos and dates.
Why the First Month Matters So Much
A cement-based finish like plaster, quartz or pebble doesn't simply "dry." It continues to harden and stabilize underwater, and the water chemistry during that period directly affects how it looks and how long it lasts.
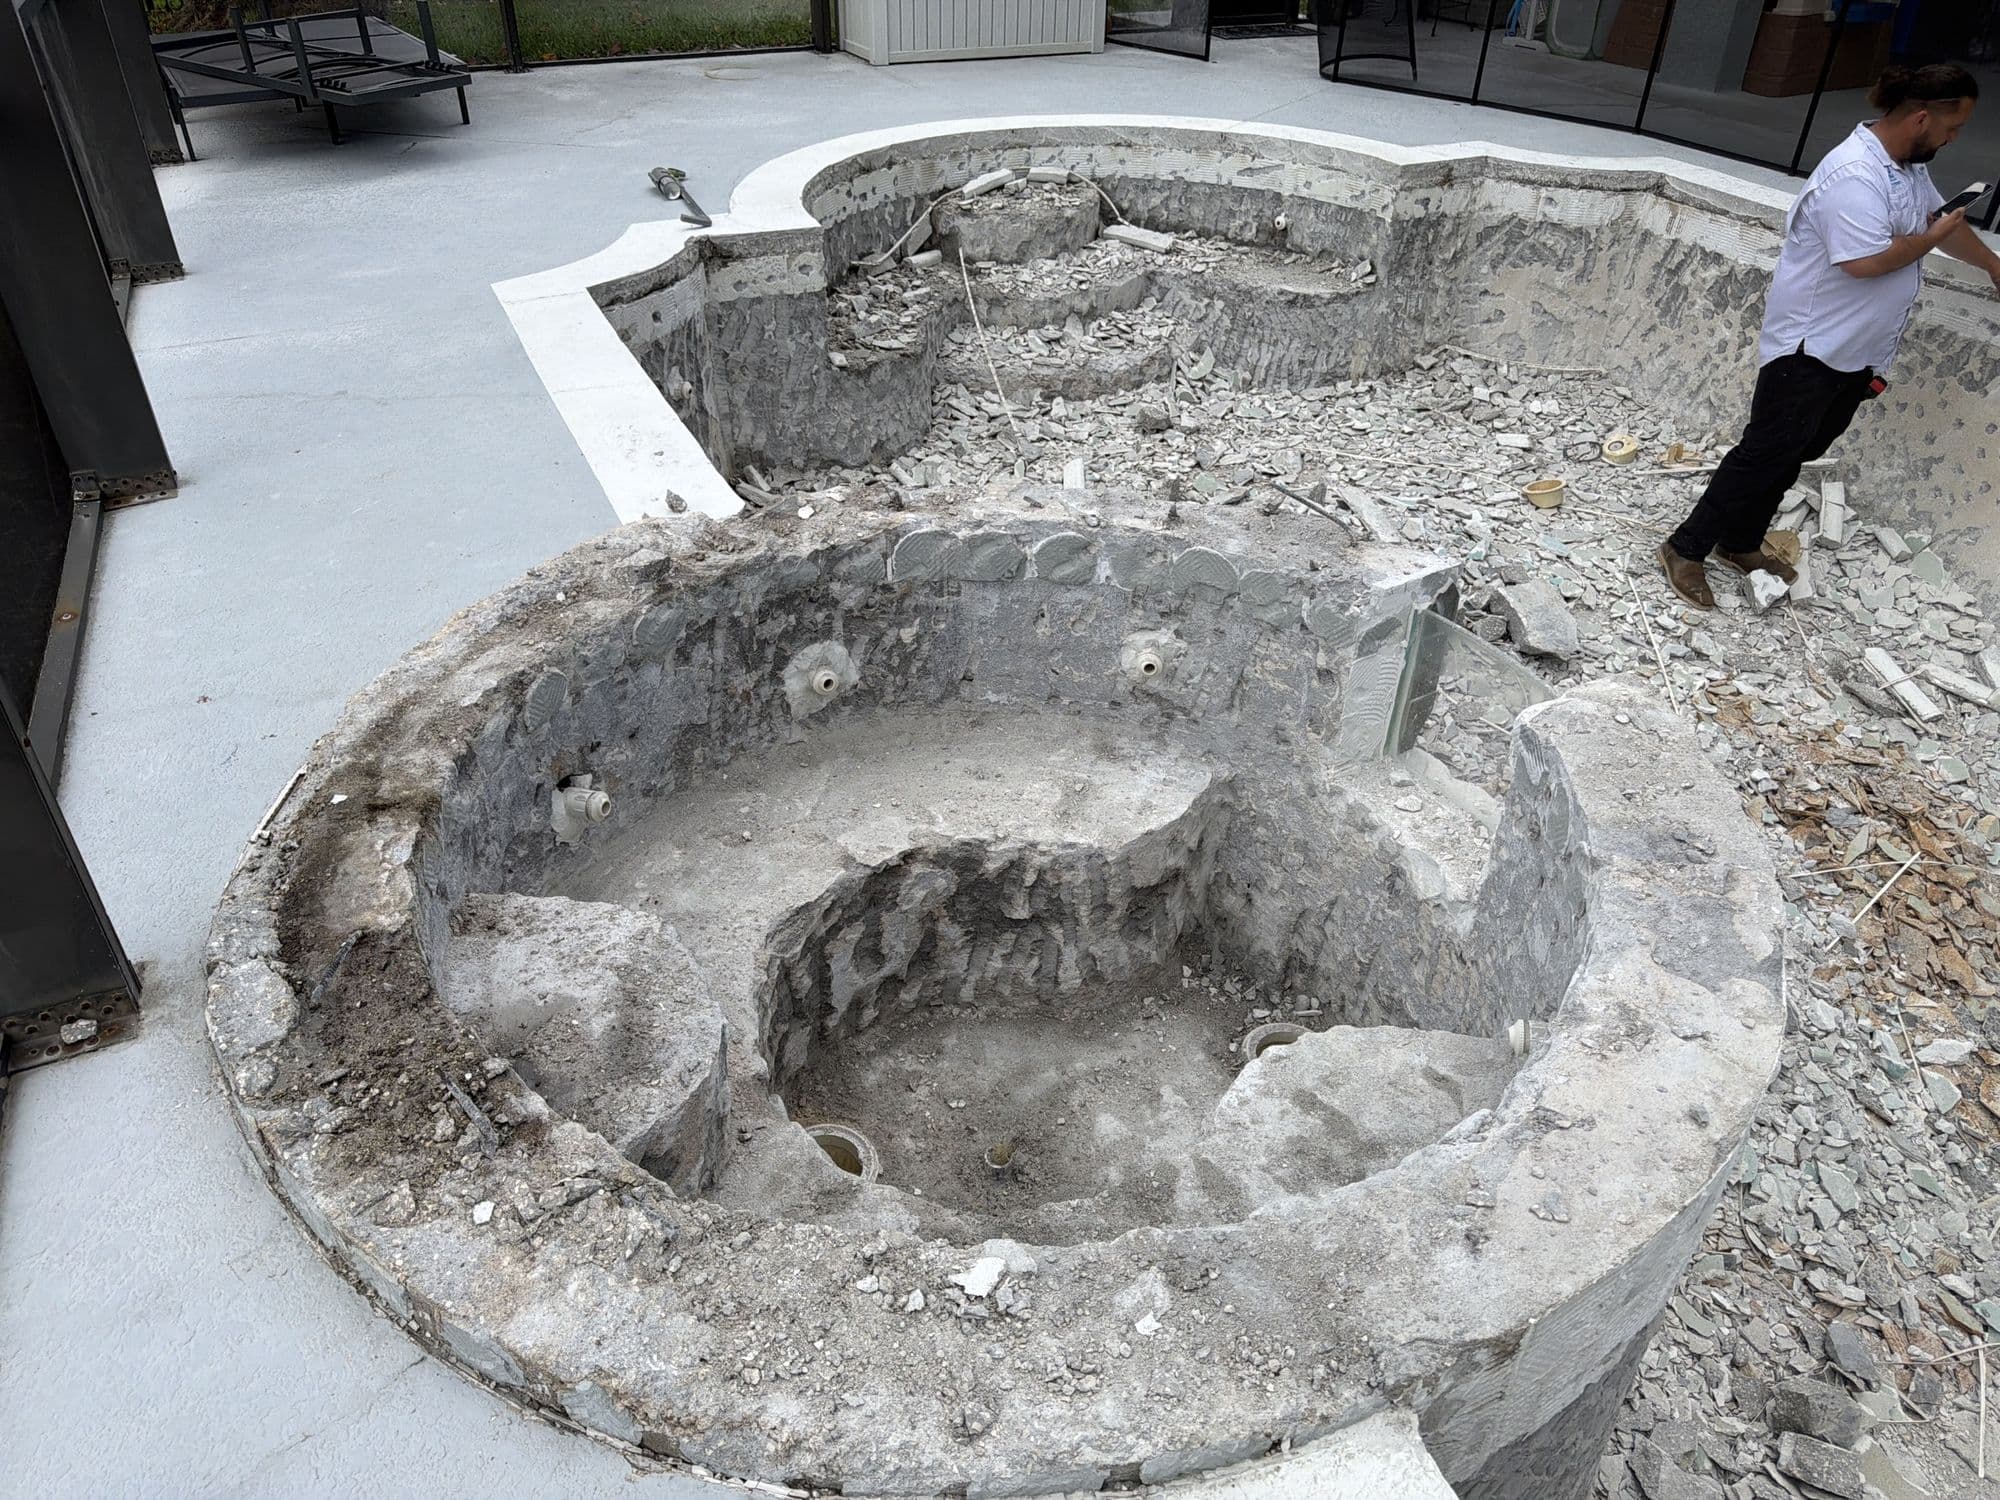
That's why the start-up period isn't optional. At D&J, a complete resurfacing takes 3–4 days of hands-on work, but the whole process — from start to swim-ready — takes about a month and a half once you include the chemical start-up. Those weeks are part of the job, not a delay.
Your contractor should hand you a written start-up schedule. Follow theirs first. What follows is a general picture of what to expect.
The Start-Up Routine in General Terms
Brushing
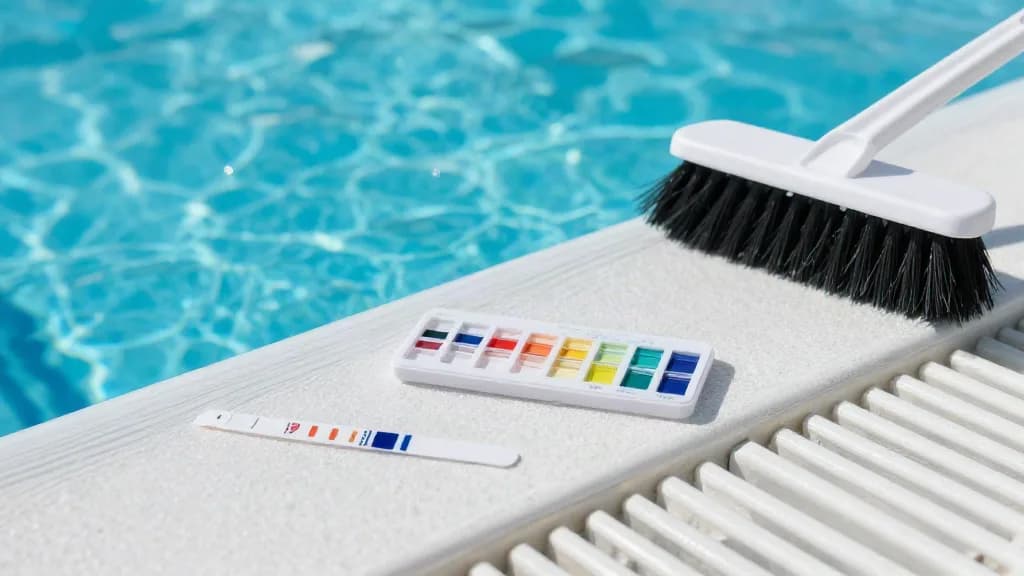
New finishes release fine particles as they cure. Regular brushing of the walls, floor, steps and benches during the first weeks keeps that material from settling and bonding to the surface. Your contractor will tell you how often and with what type of brush.
Water chemistry
During start-up, chemistry is adjusted gradually and tested often. The goal is to keep the water balanced so it neither attacks the new surface nor leaves deposits on it. Don't add chemicals on your own without checking with your contractor first — what works for a mature pool may not suit a curing finish.
Things to hold off on
Common start-up instructions include waiting to swim until the contractor gives the go-ahead, holding off on automatic cleaners, and keeping metal objects, toys and furniture off the new surface. Ask about each one specifically for your finish.
For a broader look at what to organize before and during the project, see Can I Use My Pool During Resurfacing?
What's Usually Normal
| What you see | Why it usually happens |
|---|---|
| Fine dust on the floor | Curing finishes release particles; brushing and filtration remove it |
| Color looks different week to week | New finishes keep evolving in tone as they cure |
| Some variation between areas | Natural in pebble and quartz finishes, and more visible in sunlight |
| Hazy water in the first days | Start-up particles and chemistry adjustments |
| Filter pressure rising faster than usual | The filter is catching the extra start-up dust |
Plaster dust
The fine, chalky material that collects on the floor in the first days is common. It should decrease steadily with brushing and filtration. What's not normal is dust that keeps appearing heavily week after week, or a surface that feels powdery when you rub it.
Color changes as it cures
Many homeowners panic when the color doesn't match what they saw on the first day. New finishes evolve. Pebble finishes in particular have natural variation built in. Give it time and judge the result after start-up, not on day three — while still noting anything that looks like a distinct stain or streak.
What's Not Normal: When to Call Your Contractor
Report these promptly, in writing:
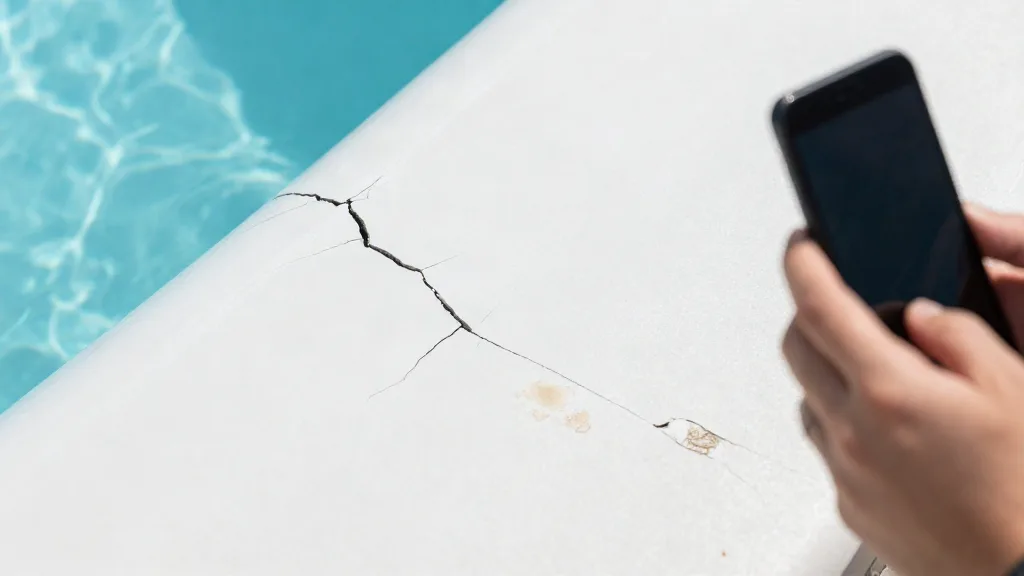
- Cracks in the finish, especially if they grow
- Rough, flaking or chipping spots, or areas that sound hollow if the pool is drained
- Stains or dark spots that spread, or spots that weren't there on walkthrough day
- Water that stays cloudy for days even though chemistry has been balanced and the filter is running
- Water level dropping fast, beyond what heat and evaporation explain
- Wet spots in the yard, around the equipment pad or near plumbing lines
- New equipment noises — grinding, screeching, rattling — or drips at the pump, filter or valves
- Tile or coping that shifts, cracks or loses grout
Early reports are easier to diagnose and easier to fix. Waiting until the end of the start-up period can turn a small issue into a bigger one.
How to Document an Issue
A clear report helps your contractor understand the problem before they arrive.
- Take photos and a short video. Shoot from a few angles, in good light. Place a coin or ruler next to small marks for scale.
- Write the date and time. Then photograph the same spot again a few days later to show whether it's changing.
- Note what you were doing. Recent chemical additions, test readings, storms, heavy use or equipment changes.
- Record your readings. Water test results and filter pressure compared with the baseline from your walkthrough.
- Send it in writing. A text or email with photos creates a dated record. Keep your warranty paperwork handy.
How to Check a Suspected Leak: The Bucket Test
Central Florida pools lose water to evaporation, sometimes a lot of it on hot, windy days. The bucket test is a simple, widely used way to compare evaporation with actual water loss. Here's the common method in general terms:
- Bring the pool to its normal level.
- Fill a bucket with pool water to a few inches from the top and set it on the first or second step, so it sits in the pool water at the same temperature and in the same sun and wind.
- Mark the water level inside the bucket and the pool level on the outside of the bucket.
- Run the pump as you normally do, and don't add water or use the pool during the test.
- Check after about 24 hours. If the pool level dropped noticeably more than the water inside the bucket, the pool may be losing water beyond evaporation.
Many people repeat the test with the pump off to help narrow down whether the loss is related to the circulation system. Rain invalidates the test, so pick a dry day.
A bucket test is a screening tool, not a diagnosis. If it suggests a leak, share the results (with photos of the marks) with your contractor so a professional can locate the source.
Our Approach at D&J
At D&J we explain the start-up schedule before anyone leaves the job, and we want to hear from homeowners early if something looks off. A question in week one is always better than a surprise in month three.
If you're planning a project and want to understand the whole process, read about our complete pool resurfacing service, or browse our projects to see finished pools.
Frequently Asked Questions
How soon can I swim in a newly resurfaced pool?
Only when your contractor says the start-up allows it. At D&J, the full process from start to swim-ready is about a month and a half, including chemical start-up.
Is it normal for a new finish to look blotchy at first?
Some unevenness is common while a finish cures, and it usually evens out over time. Distinct stains, streaks or spots that spread should be photographed and reported.
Why is my filter pressure going up so quickly?
During start-up, the filter catches the extra fine particles released by the new finish, so pressure can rise faster than usual. Follow your contractor's guidance on when to clean the filter.
How much water loss is normal in Florida?
It varies with heat, wind, sun and use, which is why a bucket test is useful: it compares your pool's loss with evaporation under the same conditions.
Should I add chemicals myself during start-up?
Check with your contractor first. Start-up chemistry for a curing finish is different from routine maintenance, and the wrong adjustment can affect the surface.
What should I do if I find a crack?
Photograph it with something for scale, note the date, and contact your contractor in writing. Re-photograph it a few days later to show whether it's changing.
Have a question about your pool's finish or planning a resurfacing? Request a free estimate or call (689) 358-9790 — se habla español.
Written and reviewed by
D&J The Pool Resurfacers
A Florida-licensed pool contractor and certified PebbleTec applicator that resurfaces, remodels and builds pools across Central Florida, working with pebble, quartz and polished finishes.
- Florida Certified Pool/Spa Contractor
- CPC1459797 · Verify the license on MyFloridaLicense.com
- PebbleTec
- Certified PebbleTec applicators
- Last updated
Why trust this article: it’s written by the licensed crew that does this work in Central Florida, and it only states what we do on our own jobs — pebble, quartz and polished finishes. More about D&J